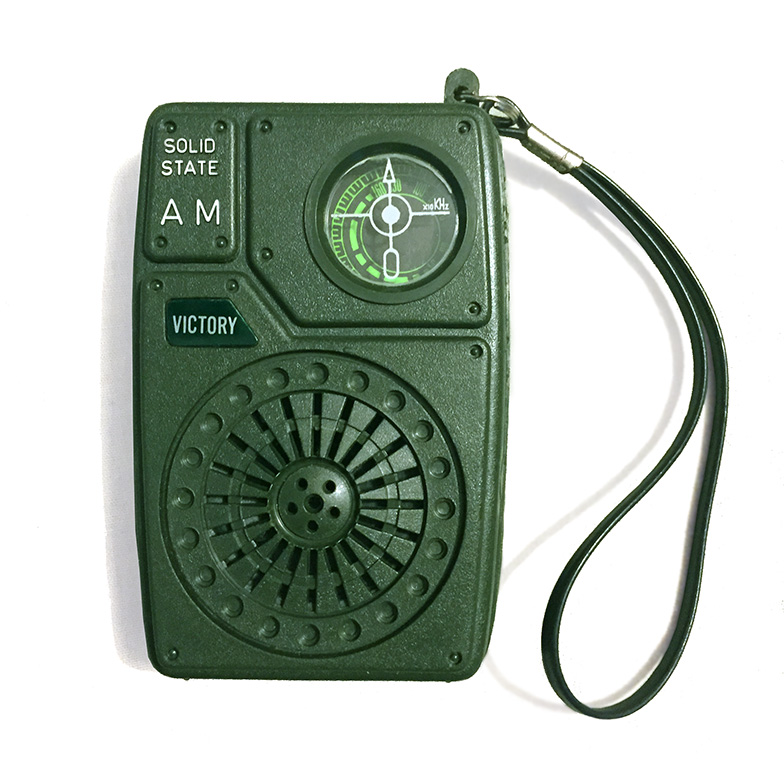
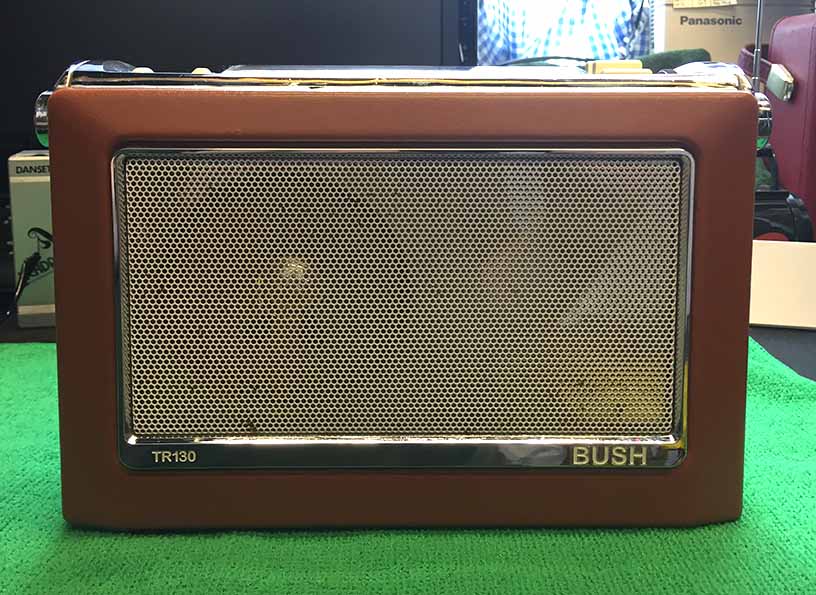
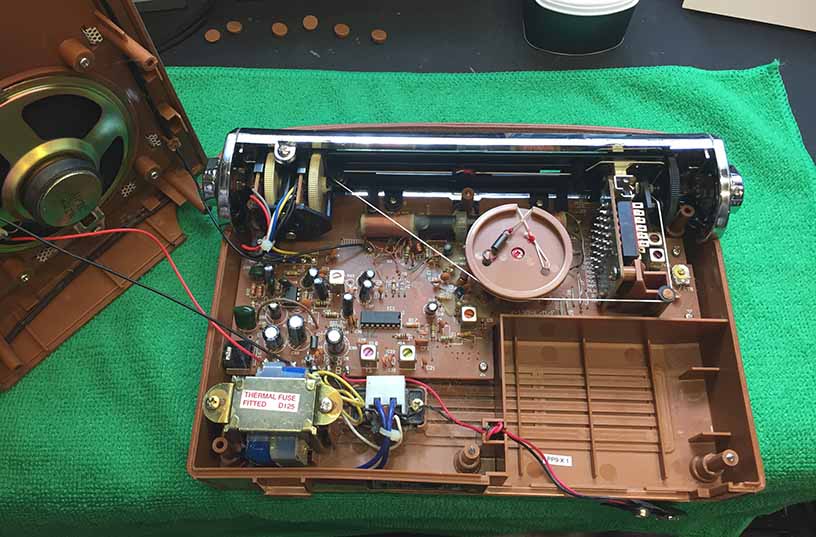
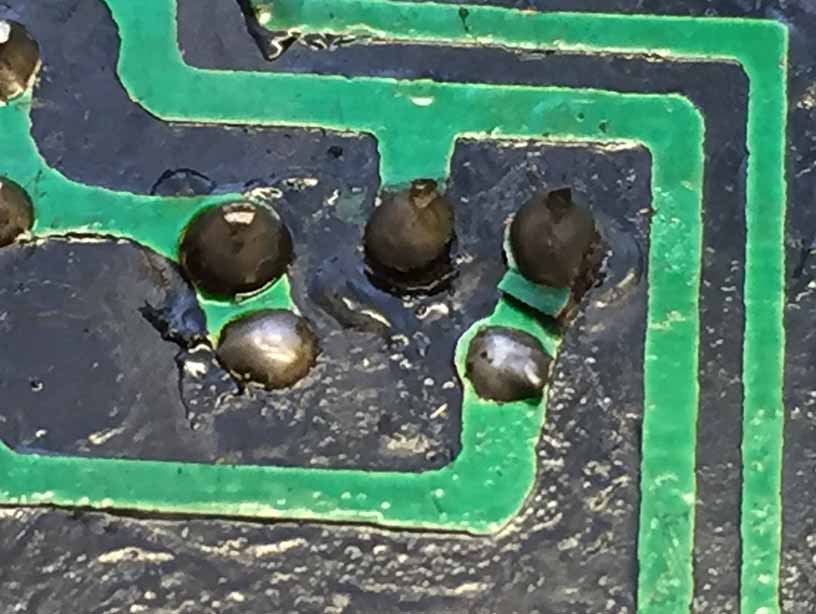
Naturally, it was as dead as a doornail when I first got it, there was no voltage going to the local oscillator, this was caused by an open circuit IF coil that was not allowing the voltage to get through.
It was probably like this from new, as when I unsoldered and opened up the coil, a wire wasn’t soldered to anything, and was just floating about inside making an intermittent connection.
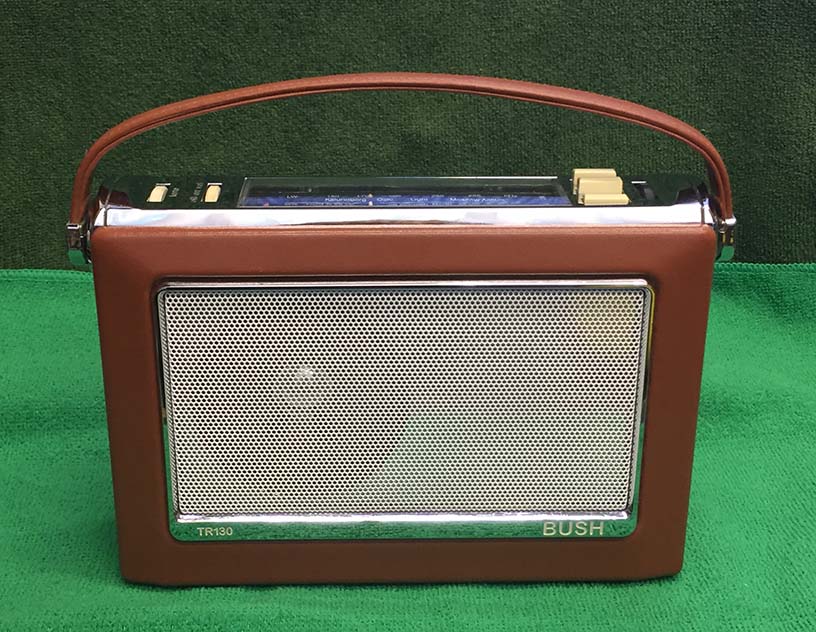
Once the wire was repaired, the little radio sprang to life. 🙂
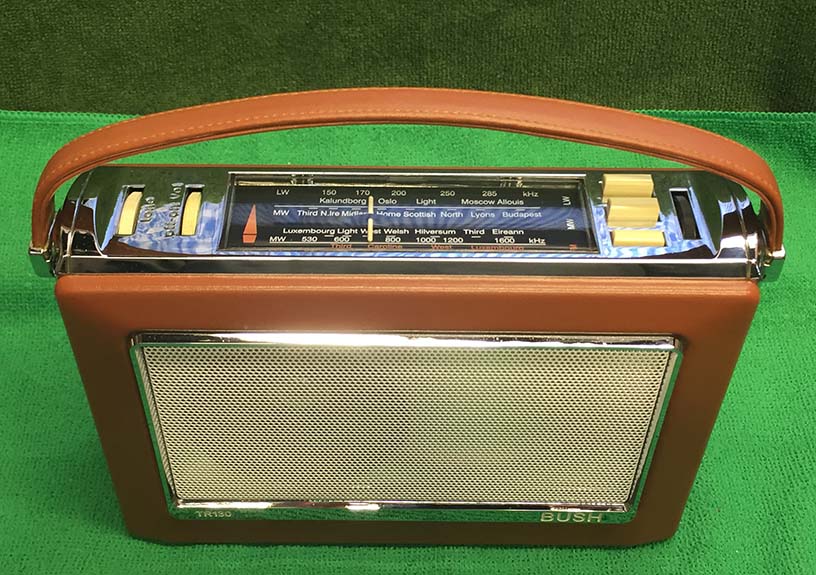
It only took 44 years to finally find one in the colour that I fancied when I was 7 😀
Now if only I can find a Sony WM-DD9 in mint condition for a few quid… 😛
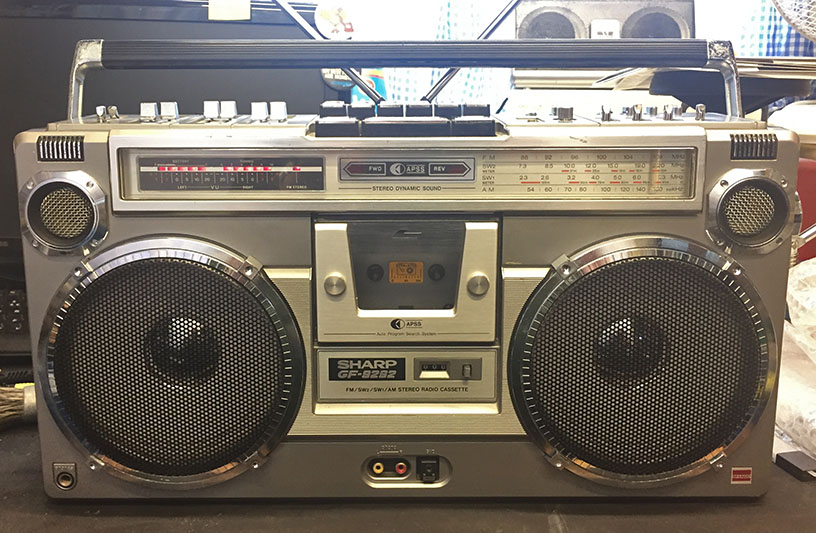
I had to say a sad farewell to my Sharp 9292 boombox the other day, things being what they are and money being tight, he had to go.
A few years ago, I had fully stripped and cleaned it, replaced the motor, replaced the belts, made new idlers and various other bits and pieces on the lathe and even managed to source a new record play head. Everything was perfect. Still, it went to a person who really does appreciate it so I’m not so sad about that. Farewell my outrageous friend.
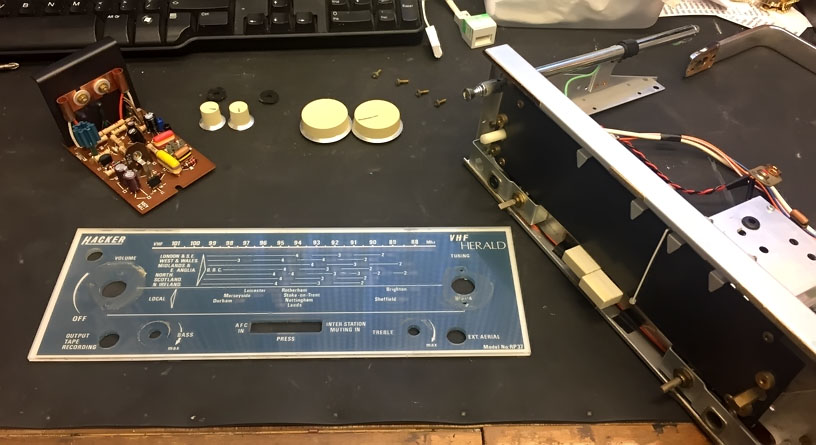
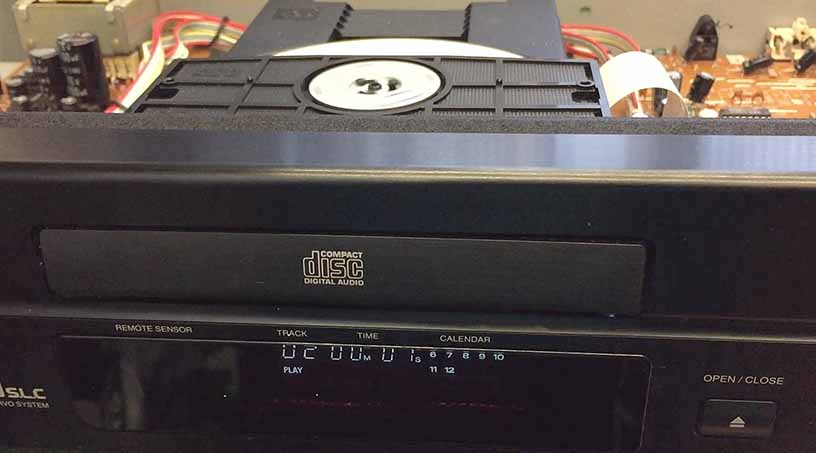
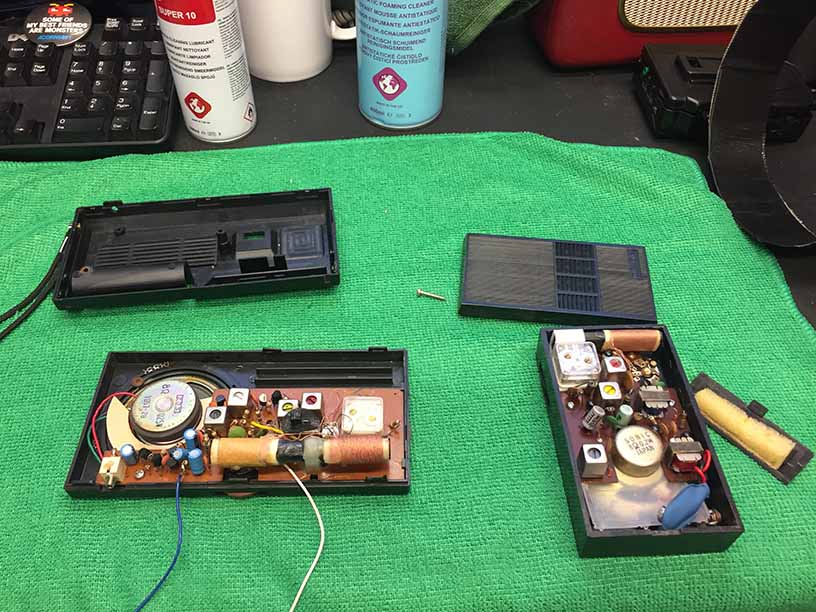
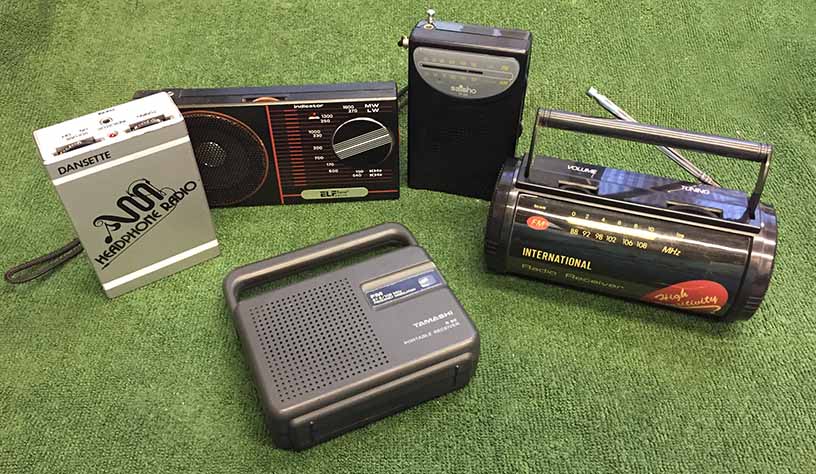
This poor little radio has been lurking about for years and years at the back of the bench waiting for me to do something about it.
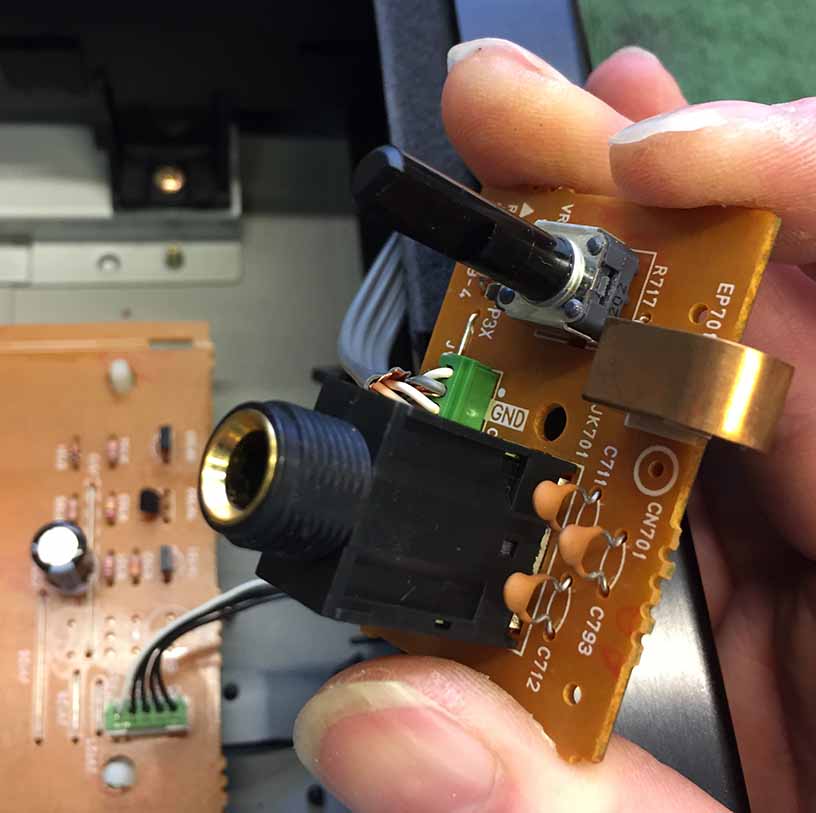
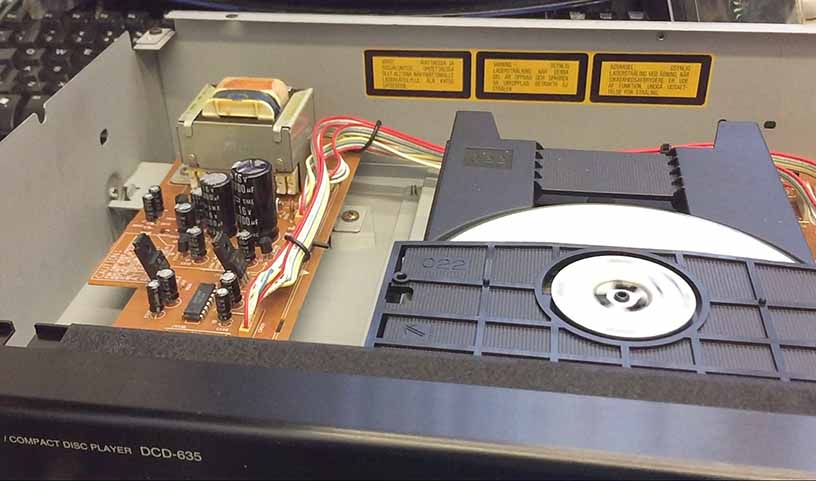
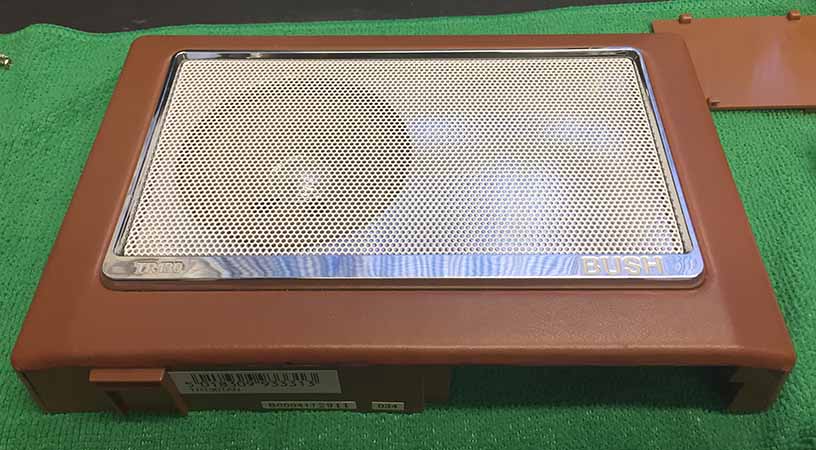
All stripped down and amp board recapped.
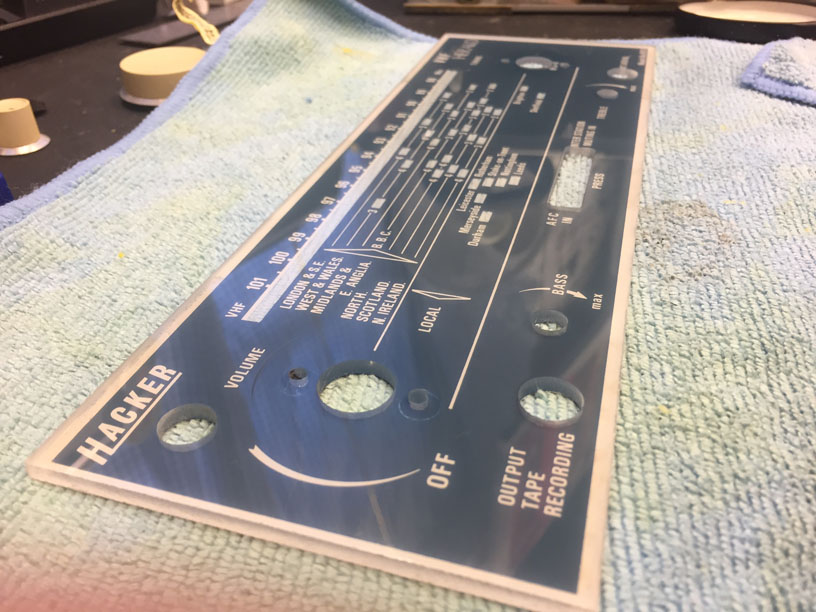
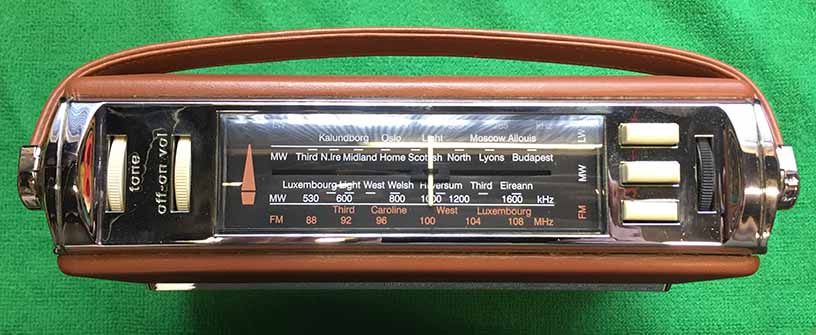
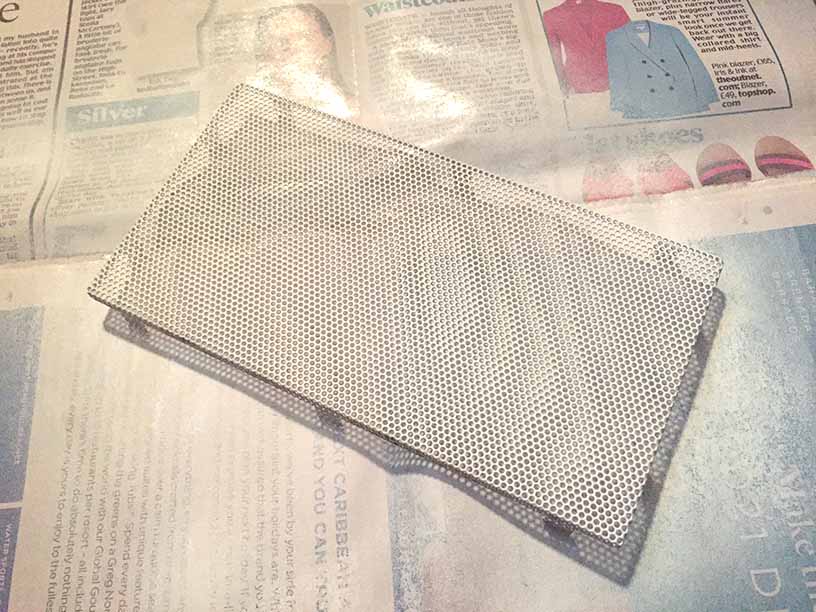
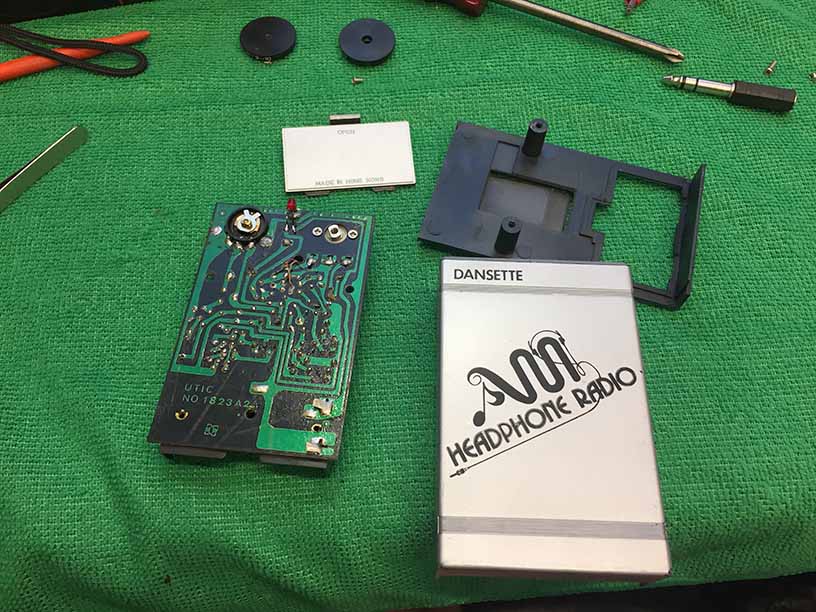
Top plate all polished up and shiny again.
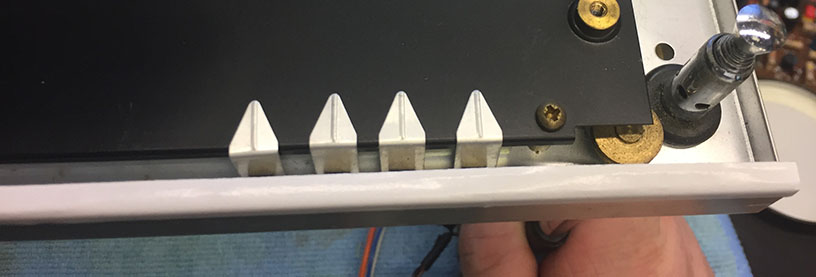
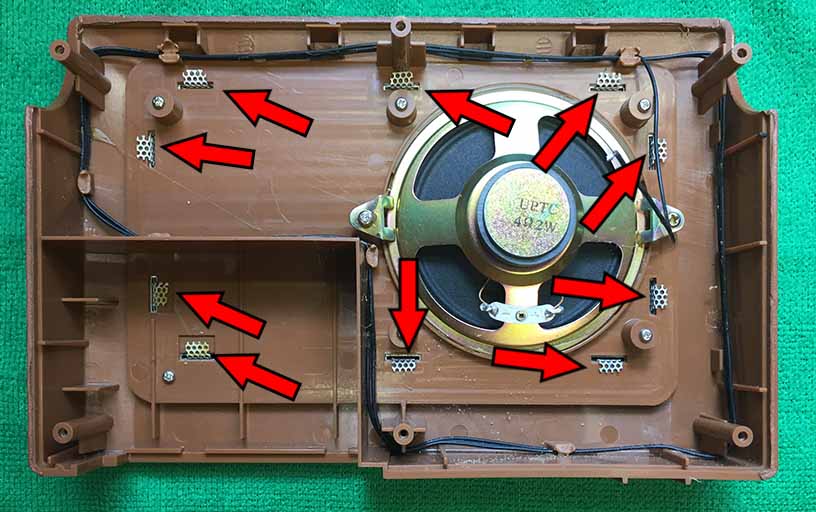
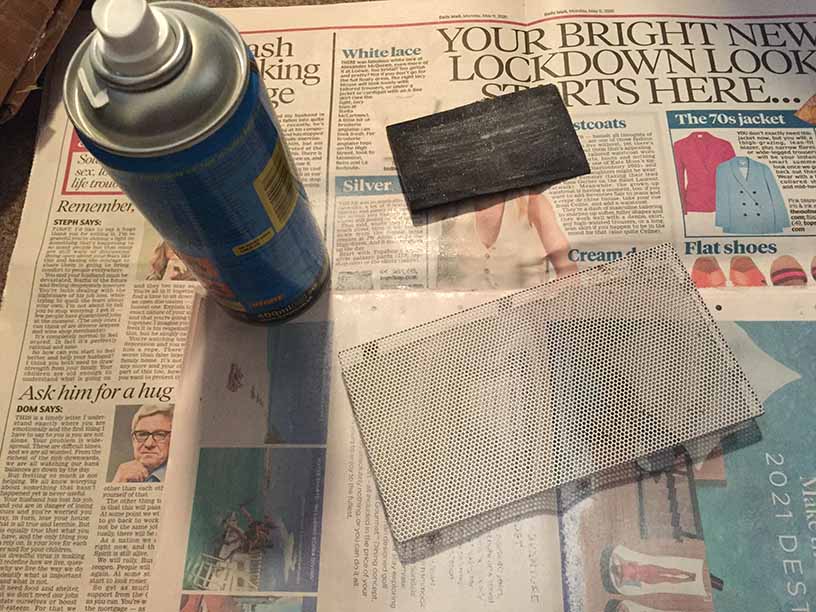
Some protective strips to help stop the top display from being damaged.
And for now, that will have to be it, as sadly the country has gone back into lockdown for another month. I’ll have to see how things go, but hopefully the restrictions will be lifted enough for me to visit the workshop a few more times and finish this off before Christmas.
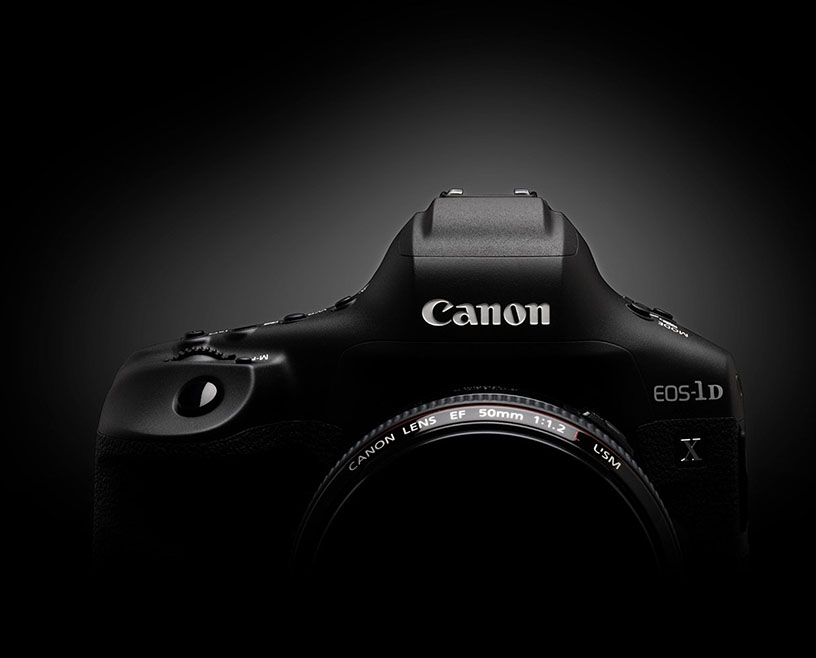
So it’s now been a few weeks since my Pro Canon 1DX series camera body died and I’m still reeling over the loss. Yes, I know it’s just a camera body, yes I get it, however this is no cheap and cheerful point-and-shoot camera, this was a professional £5000+ camera body, which I’m hardly ever likely to be able to afford again.
I wouldn’t mind, but this isn’t the first time, a professional piece of Canon equipment, has failed on me, only a few months ago, my EF28-300L series lens also decided to die, and proceeding that my Canon 1V film camera also died as well, and was unrepairable due to the fact that it was 1 year old.
To top that off I also have other 1 series cameras, which have also failed in various ways.
I wouldn’t mind, but I wrap all of the equipment in microfibre cloths and all of it is in mint condition.
Add to the fact that it’s nearly £1000 inspection fee to look at the camera and you realise that if you buy any digital camera from Canon it’s already written off before you turn it on.
This is frankly unacceptable, and Canons response is they just don’t give a shit, go buy another camera.
They are currently brainwashing everyone who’ll listen to throw away all of your current camera equipment and buy a ‘shit ton’ of mirrorless crap, because you can’t possibly take a photo with a camera containing a mirror, as the entire universe will implode.
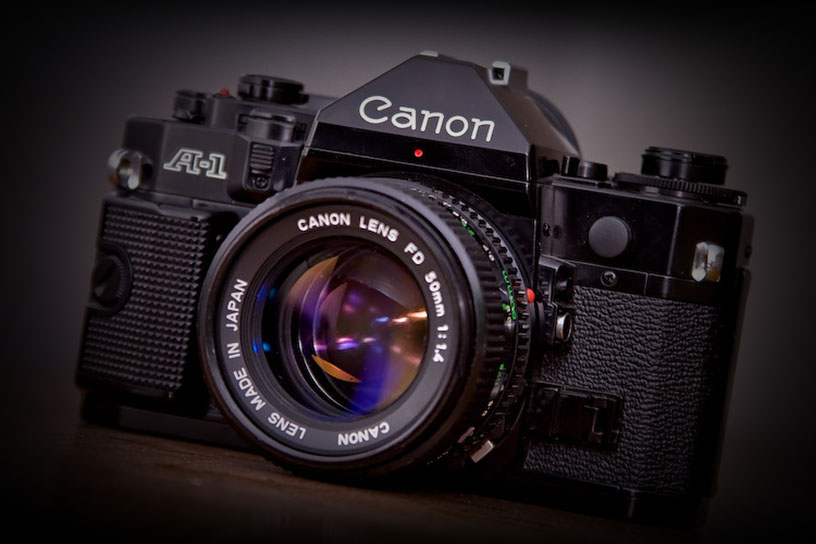
It works out that every single photograph I have taken with the 1DX series costs approximately £1.50 per photo, so I’ve decided to take the bold move to go back to film, as it’s substantially cheaper. I now have a little Canon A1, and a handful of second-hand manual lenses, plus a Canon EOS 1n to use with the EF lenses I still have that work. 😛
To be honest, I’ve had a blast. B&W film, developing said film at home, trying lenses that cost no more that a tenner, sometimes less than a fiver and not worrying that the whole lot is going to suddenly disappear into a black hole.
Yes, yes, I can hear you scream at the monitor, “But you’re still using Canon equipment” well, after decades of faithful ownership, I have a fair amount of nice legacy equipment. I’m not yet at the point of just abandoning the whole lot in a fit of temper. That would be financially irresponsible.
No, I will use what I have and use it well. I will of course, keep an eye out for a second hand digital body, but it would have to be damn cheap. In the mean time I’ve dug out a couple of point and shoot jobbies for the odd bit of video now and then and shoot film until my anger subsides.
Canon’s lack of any kind of empathy, is honestly what surprises me. I have a Gold level of CPS ownership, and it means absolutely bloody nothing. The money grabbing bastards.
If you’re reading this, go and buy a Nikon camera, the display’s are a unreadable mess, but it will probably work in twenty years, the Canon equipment will all be in landfill.
Apologies for this post being so late, various things going wrong but worst of all, my favourite Canon video and stills camera decided to die so I had to use my iPhone to finish off this video.
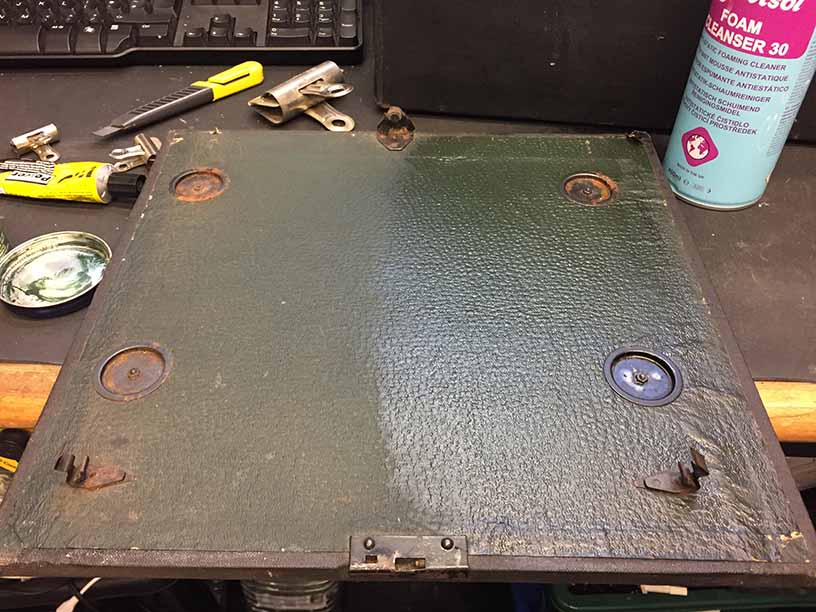
The base is cleaning up nicely, the lid will get the clean and polish treatment later as well.
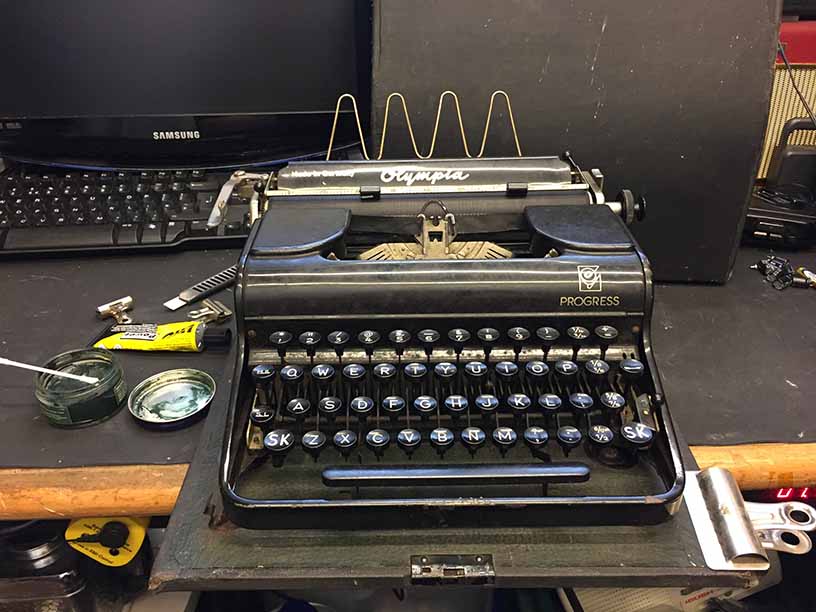
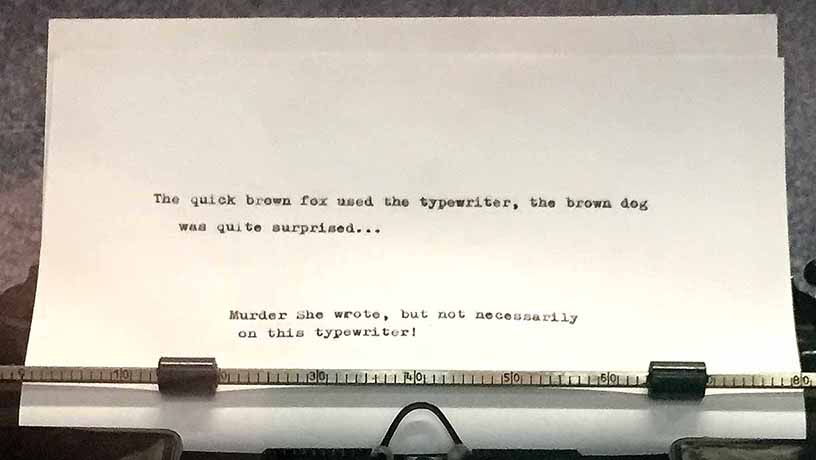
And the final result, (it’s behind glass, which is why there are ghostly images in front) Re-inked and serviced. It actually is quite nice to use, which is a surprise to me. I’m quite fond of it, but I can’t keep everything. 😀