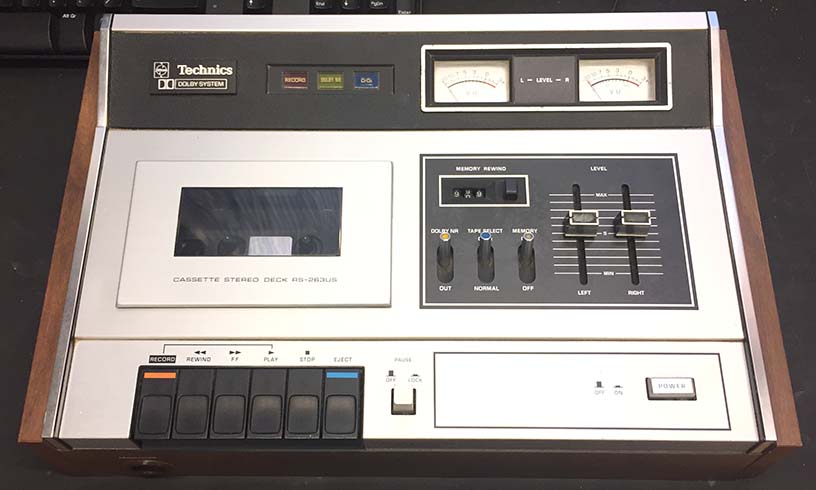
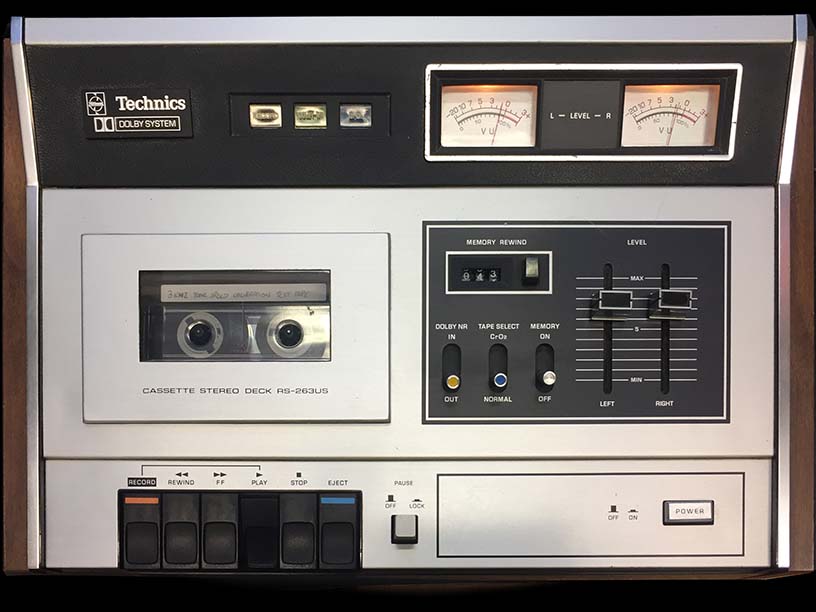
This one is a bit tired and doesn’t fast forward or rewind. Play isn’t great either.
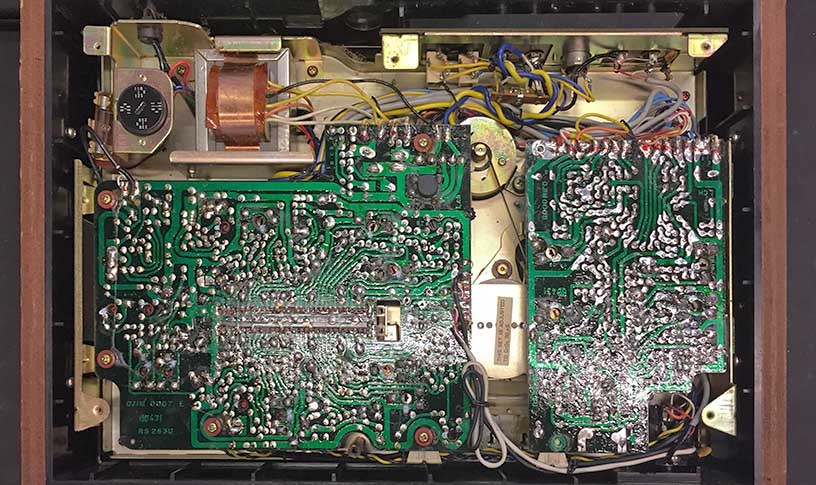
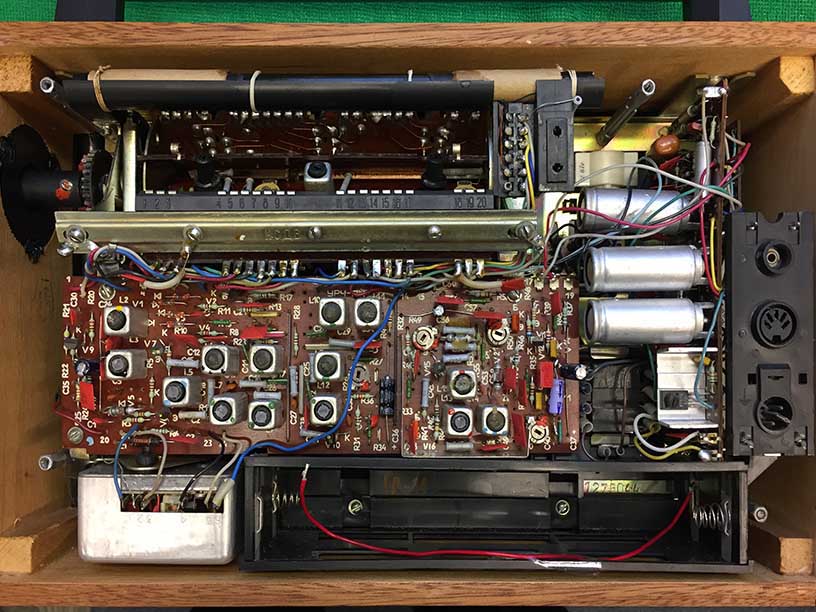
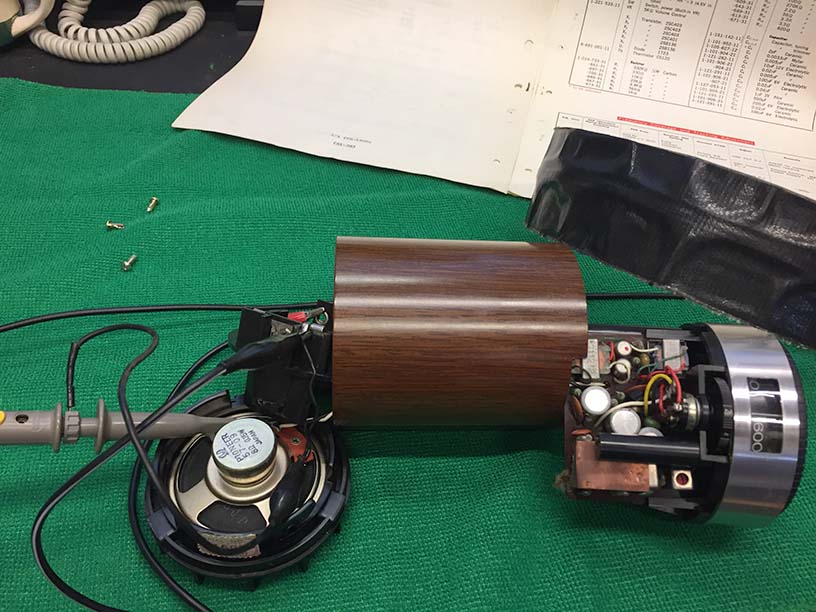
To get to the mechanism I need to remove the circuit boards first.
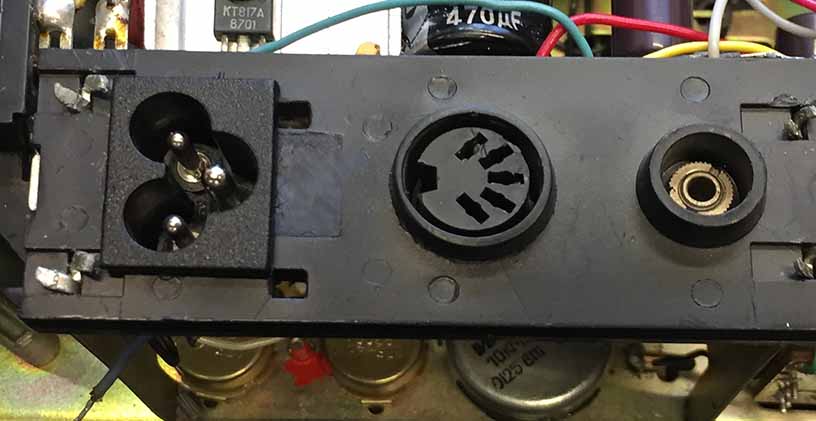
The bits I need to get to are behind here, so almost there, one more board and the capstan thrust plate to go.

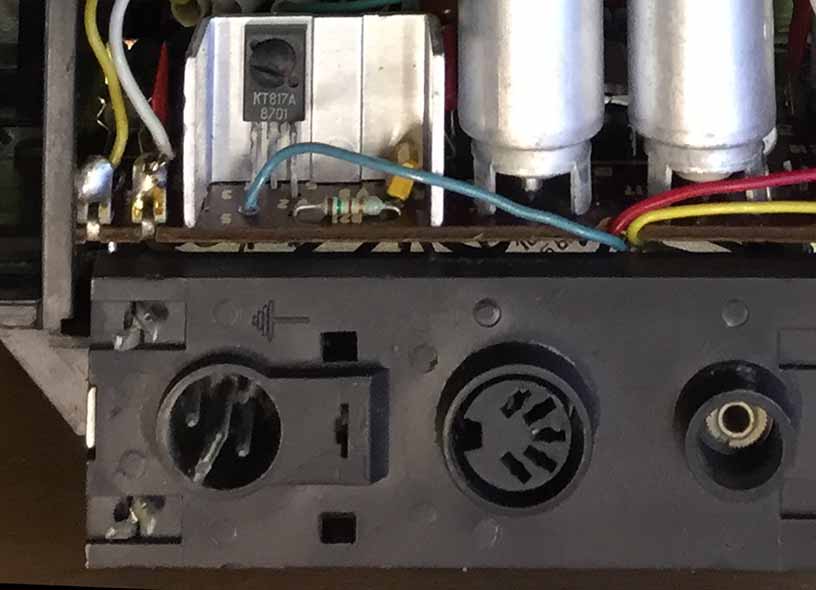
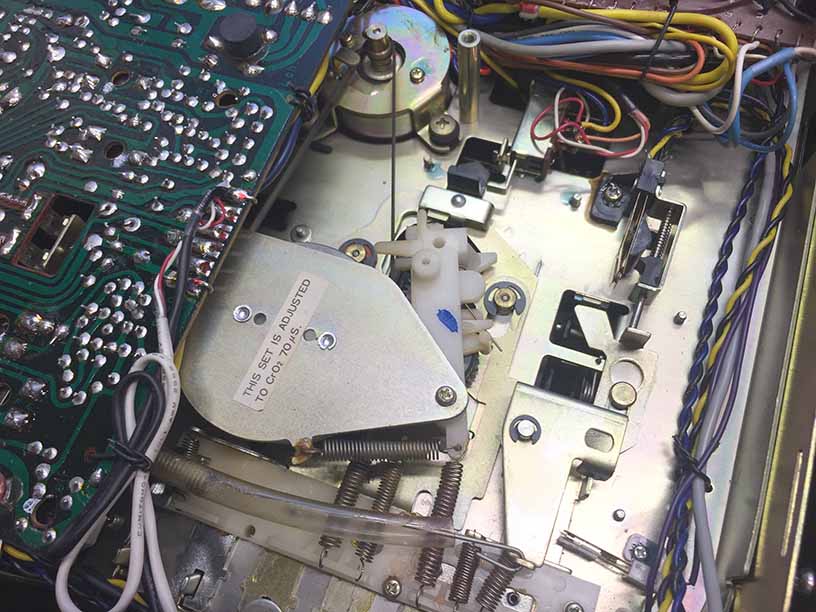
Lots of old grease and some worn out rubber.
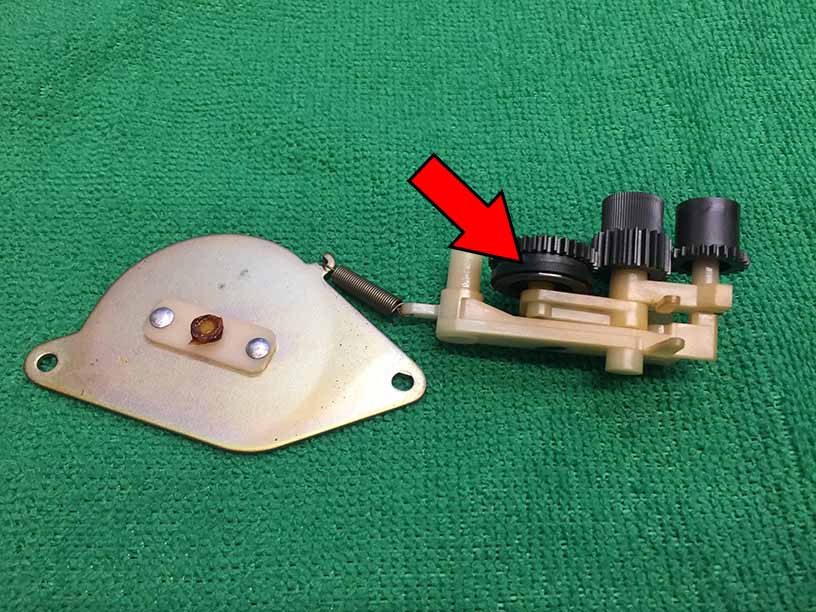
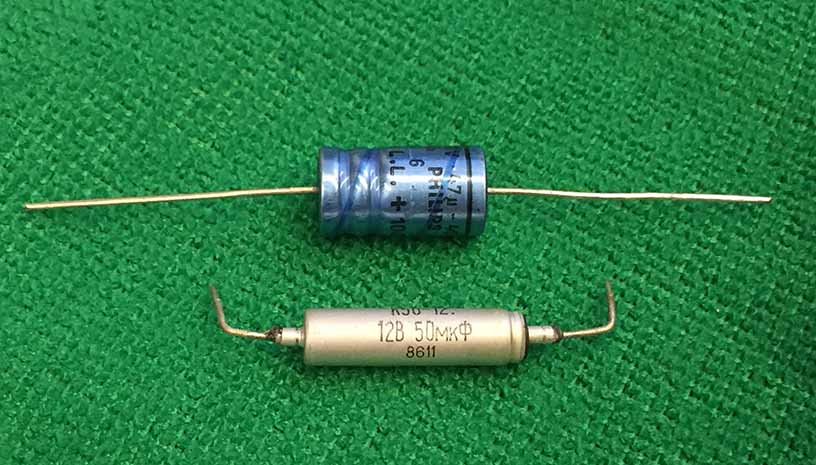
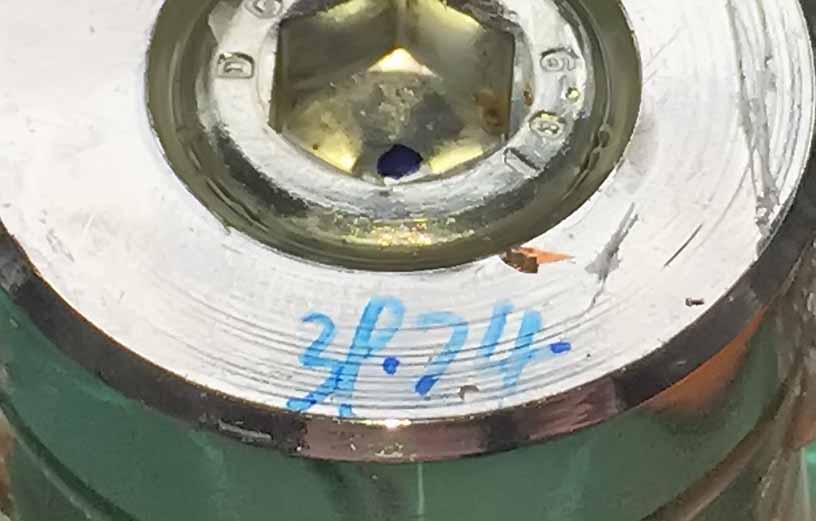
The part that needs to be replaced is this rubber ring.
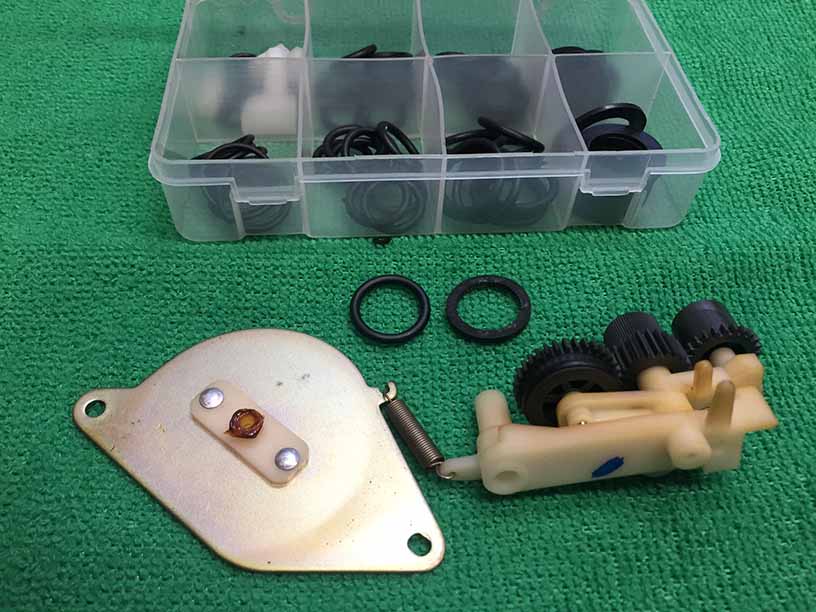
Since parts are no longer available for this cassette deck, I had to improvise using an o-ring from an o-ring set. It worked out quite well.
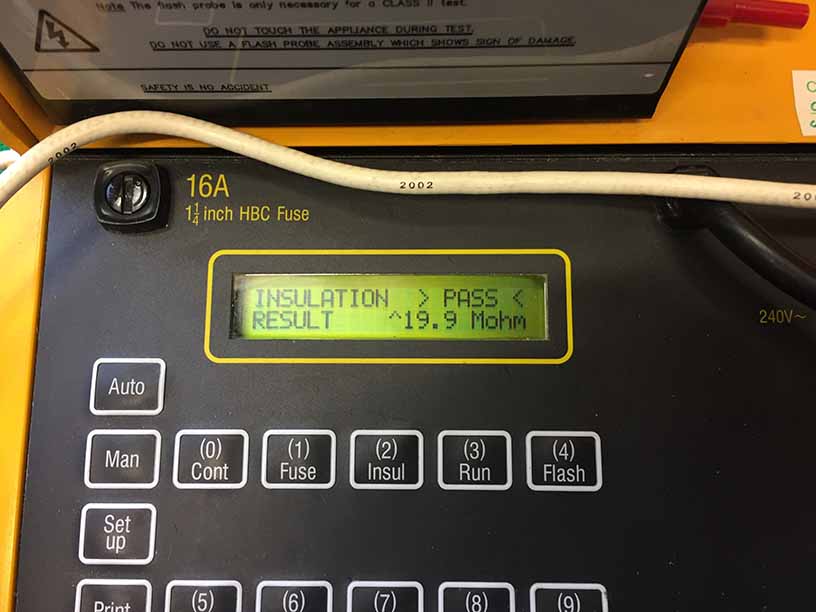
With new belts and a new idler the deck was now working but the playback was distorted and blown out in one channel, this was sorted by cleaning the REC/PLAY switch and the level controls with contact cleaner. A final check for speed accuracy and correct record and playback, and the deck was given back to the customer.