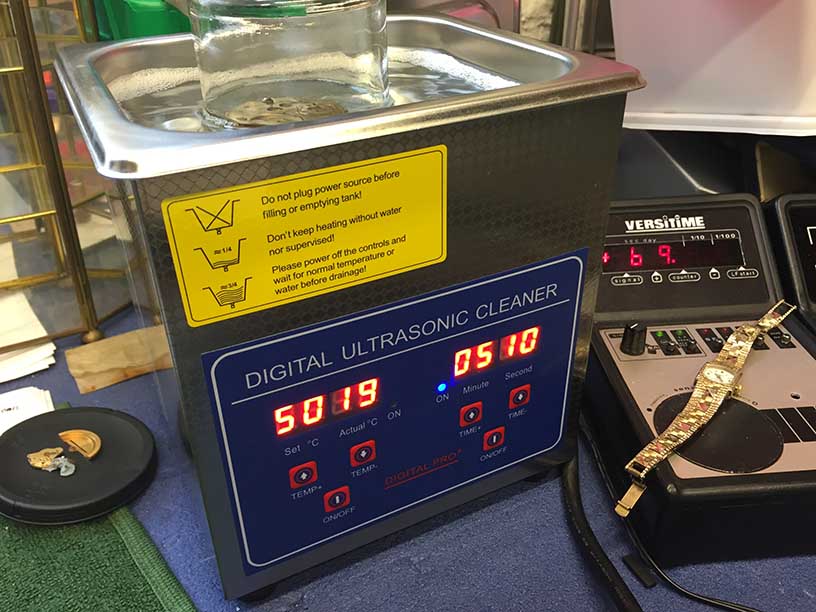
Here’s part two of the ultrasonic repair. Replacement ultrasonic resonator fitted.

Still didn’t work, strange, measured the new unit, and it’s 3.8nF, measured the old unit and its 5.2nF even though it’s marked 3.7nF.

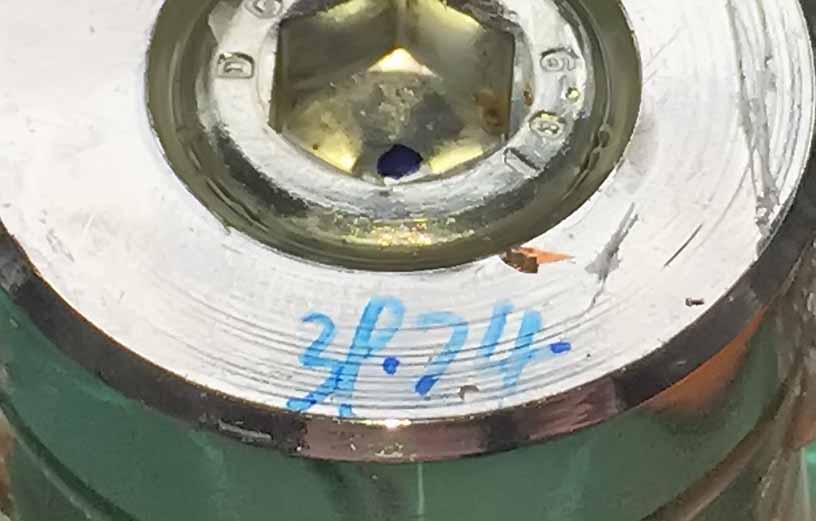
The circuit is looking for approximately 3.7nF, so the new unit is correct. Then I noticed there’s an extra capacitor fitted to the circuit that the larger ultrasonic cleaner doesn’t have.
I’m guessing this is because there are two ultrasonic resonators in parallel, so the capacitance would have to be doubled, so I thought what the hell let’s match the other cleaner and see what happens, took the capacitor out and the thing works fine.
I guess I’ll have to experiment to find the perfect resonant circuit, but for the meantime things are okay. I’m assuming the wound coil is not the correct mH to make the circuit run properly.
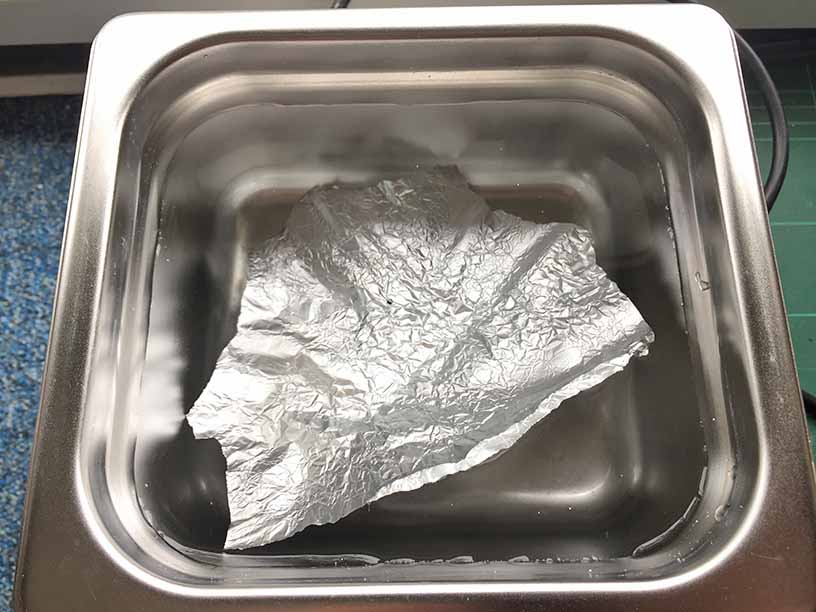
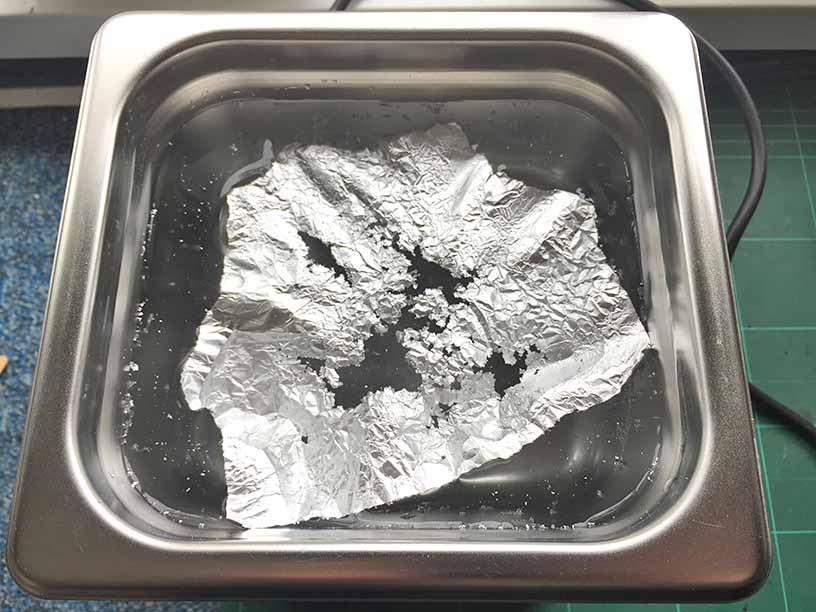
Just a side note, if you want to test an ultrasonic cleaner, the best way to visually see how it’s performing is to place a piece of aluminium foil in it, and switch it on, if all is working well, the aluminium foil will be dissolved in the places where the ultrasonic cavitations are the strongest.